How to Install Ubuntu WSL in a Custom Location (Windows Subsystem for Linux)
📦 How to Install Ubuntu WSL in a Custom Location (Windows Subsystem for Linux)
Want to install Ubuntu WSL on a different drive or folder instead of the default location? You're not alone. Whether you're optimizing space on your C: drive or just love organizing your setup—this tutorial will walk you through installing Ubuntu WSL in a custom location with full control. 🚀
❓ Why Install WSL in a Different Location?
By default, WSL stores Linux distributions under %LOCALAPPDATA%\Packages, usually on the C: drive. This can fill up fast. Installing Ubuntu in a custom folder like D:\WSL\Ubuntu can free space and make your setup easier to manage or backup.
🔧 Prerequisites
- ✅ Windows 10 or 11 with WSL2 enabled
- ✅ Admin privileges
- ✅ At least one other partition/drive (like D: or E:)
- ✅ Internet access to download Ubuntu rootfs
📥 Step 1: Download Ubuntu RootFS
1. Head to the official Ubuntu WSL page
2. Pick your preferred version (e.g., Ubuntu 22.04 LTS) and download the rootfs.tar.gz archive
📁 Step 2: Create Your Custom Install Directory
Example command in PowerShell or CMD:
mkdir D:\WSL\Ubuntu🧙♂️ Step 3: Install Ubuntu Manually
Use the built-in wsl.exe tool to import Ubuntu into the custom location:
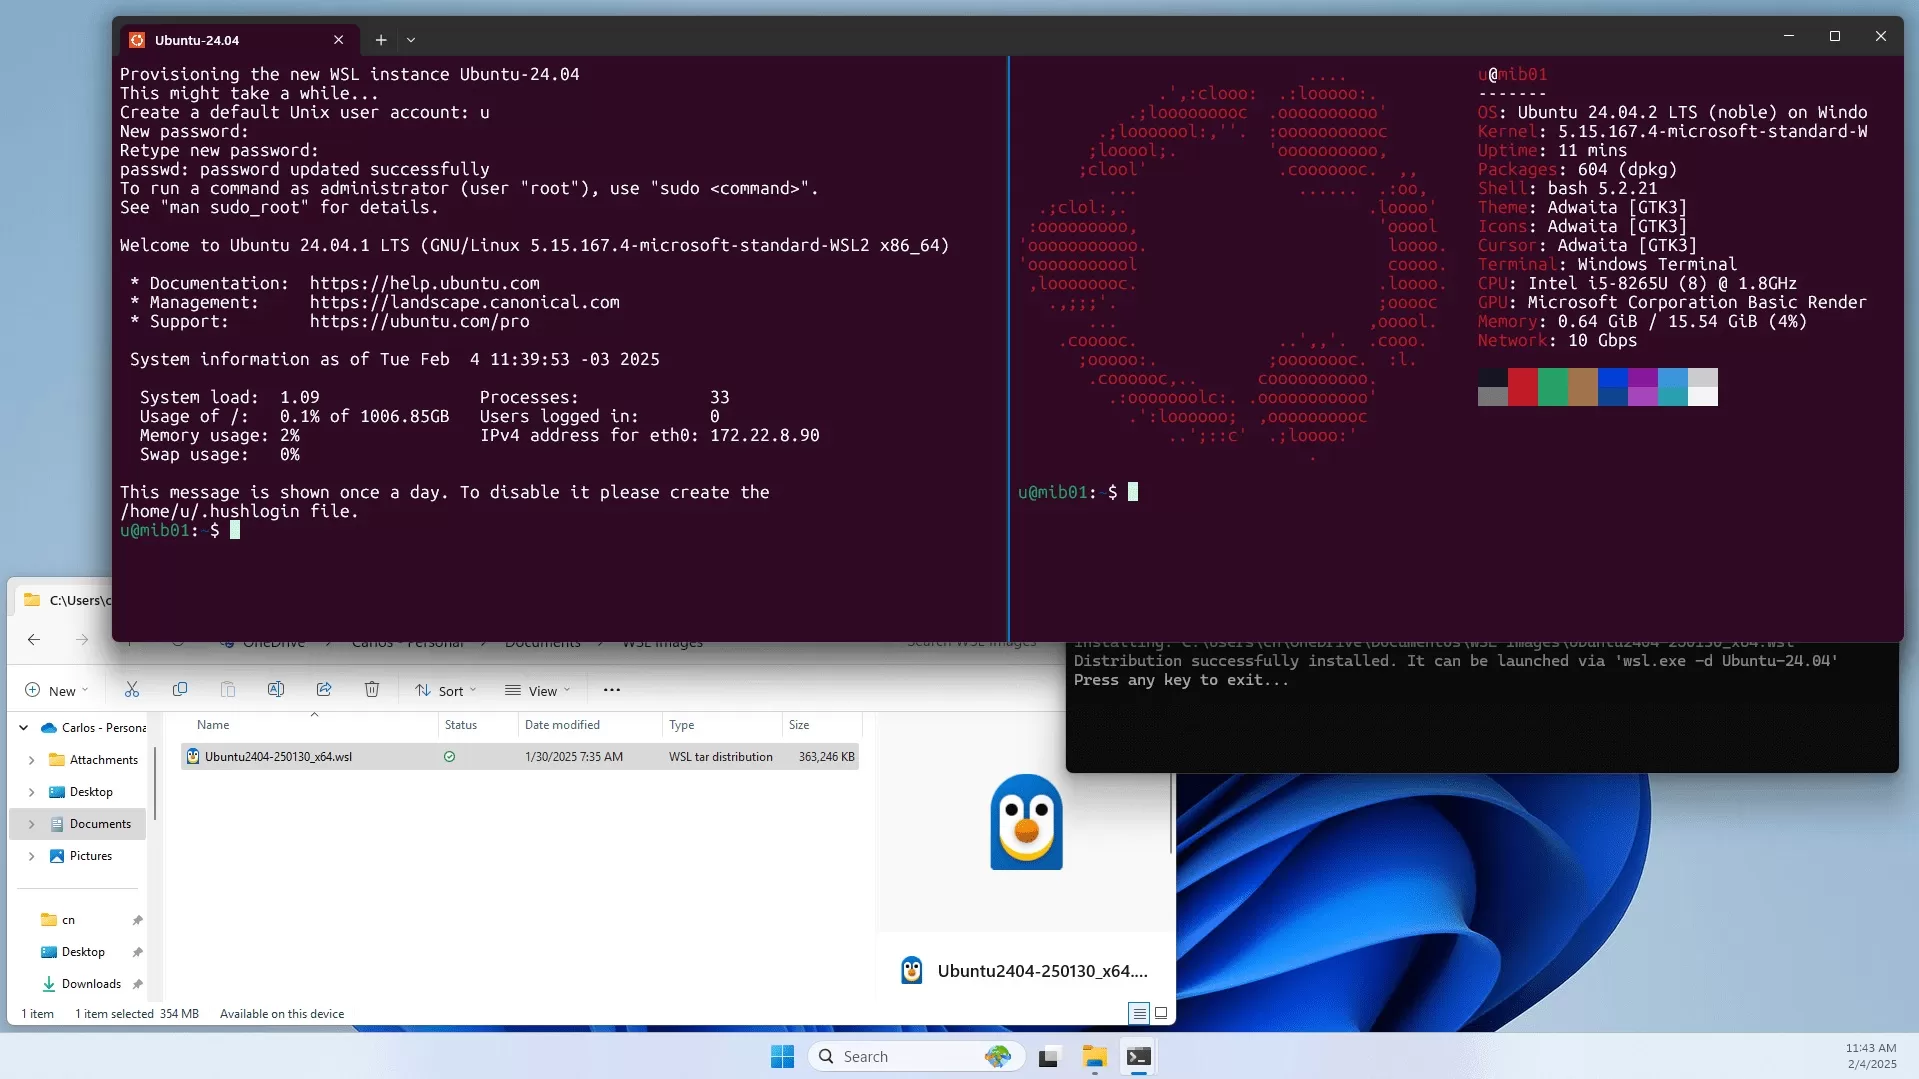
wsl --import UbuntuCustom D:\WSL\Ubuntu C:\Users\YourName\Downloads\ubuntu-rootfs.tar.gzThis installs the Linux filesystem to D:\WSL\Ubuntu with the name UbuntuCustom.
🚀 Step 4: Launch Your Custom Ubuntu
Now launch your new Ubuntu install with:
wsl -d UbuntuCustomIt will drop you into the shell for the first time. Set your username and password as prompted.
🛠 Step 5: Optional Config Tweaks
- Add aliases or PATH updates to your
~/.bashrc - Set UbuntuCustom as default:
wsl --set-default UbuntuCustom - Enable systemd support if needed (Ubuntu 22.04+ supports it)
📌 Bonus Tips
- 🧹 Clean up by deleting the original
rootfs.tar.gzafter import - 🔒 Keep a backup of your
D:\WSL\Ubuntufolder for disaster recovery - 📁 You can import multiple distributions with different names
🎉 Conclusion
Now you've got Ubuntu running under WSL exactly where you want it. Custom locations give you the flexibility to organize, manage disk space, and even take backups easily. Whether you're a developer, power user, or Linux learner—this method gives you the control that the default WSL install lacks. Happy coding! 🐧💡
Have questions or a cool WSL tip? Share it in the comments! 👇


Comments (0)
No comments yet. Be the first to comment!
Leave a Comment